| File information |
| Filename: | robin-tom3.jpg |
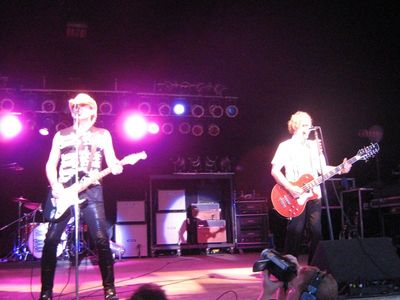
| Album name: | Dryband / Tom Petersson Plays Jim's Bass |
| Filesize: | 87 KiB |
| Date added: | Oct 28, 2010 |
| Dimensions: | 800 x 600 pixels |
| Displayed: | 293 times |
| URL: | http://www.dryband.com/cpg15x/displayimage.php?pid=176 |
| Favorites: | Add to Favorites |